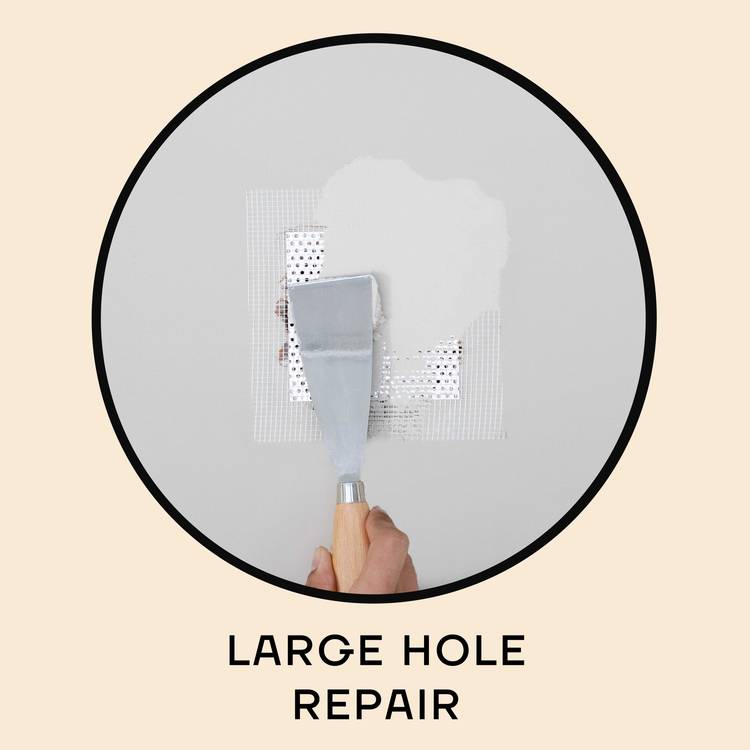
Fixing a Large Hole
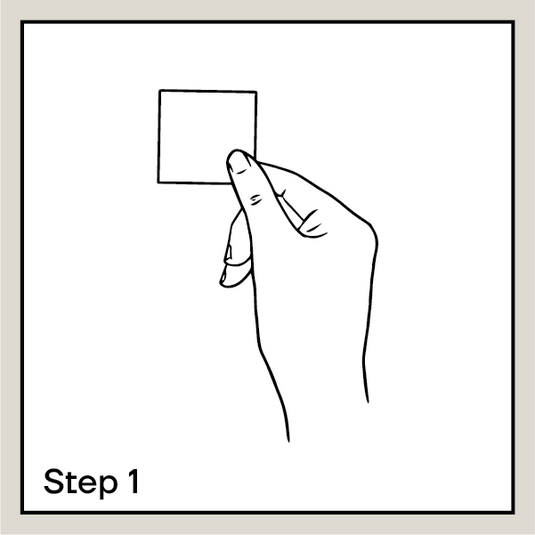
Step 1
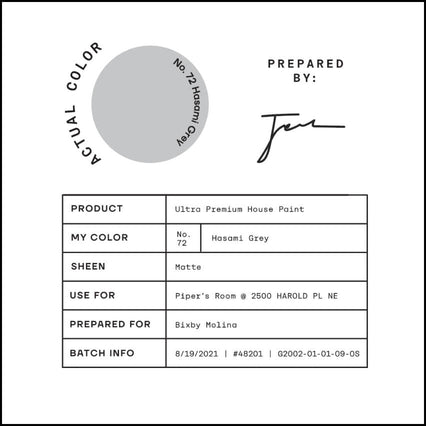
Ensure you have the right color by ordering a color chart at getsoto.com/colorchart.
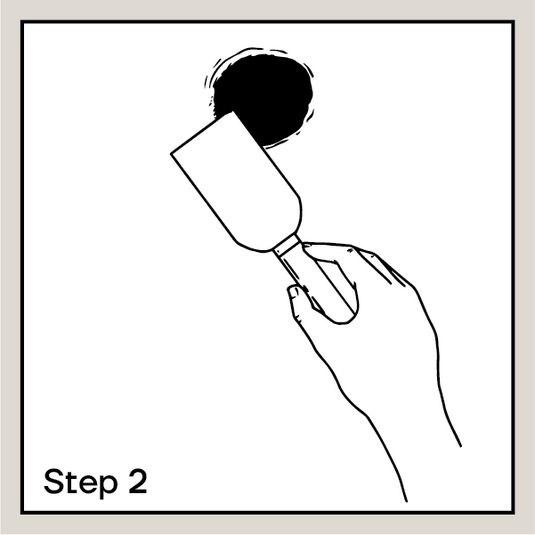
Step 2
Cut away any frayed edges with the blade of the Putty Knife.
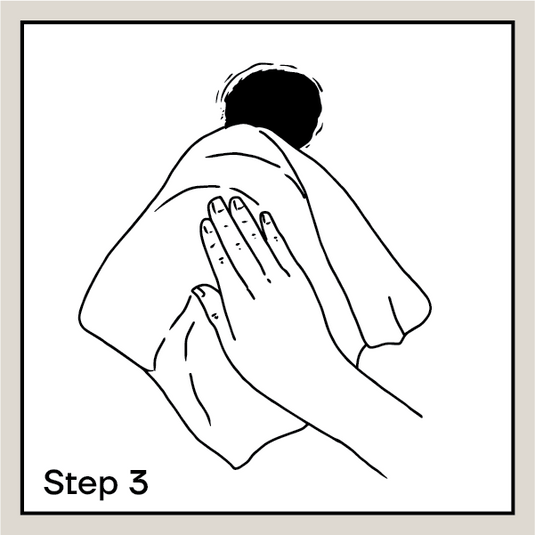
Step 3
Wipe surface with enclosed dampened Disposable Cotton Towel to remove dirt, dust, oil and loose paint.
* WARNING: If you scrape, sand or remove old paint in pre-1978 homes, you may release lead dust. LEAD IS TOXIC. Contact the National Lead Information Hot Line at 1-800-424-LEAD, or log on to www.epa.gov/lead for more info.
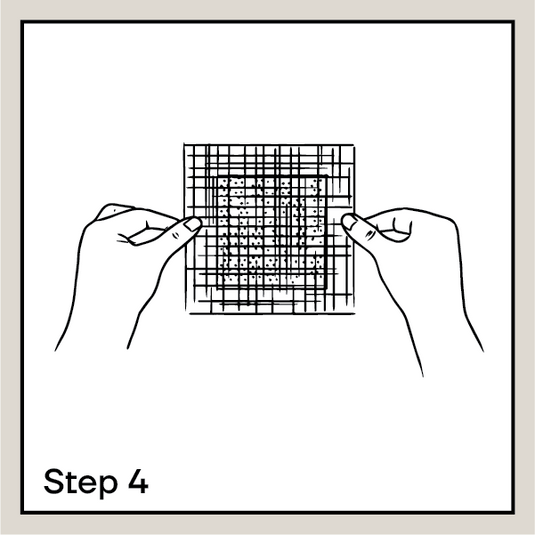
Step 4
Select proper sized patch. Remove backing and carefully place over hole, smoothing over with your hand to ensure optimal adhesion.
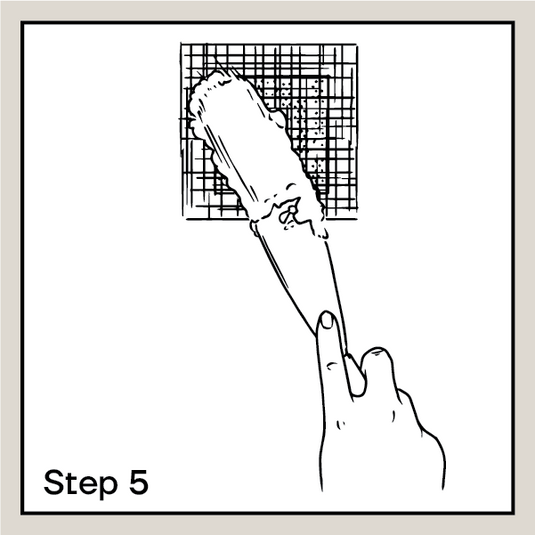
Step 5
Completely cover patch with spackle, and feather into the existing wall. Since we recommend applying a second coat of spackle once the first coat is dry to ensure a seamless appearance, it’s okay for some of the patch grid to be visible. If you prefer to complete the repair in one coat, make sure the grid is completely covered in this step.
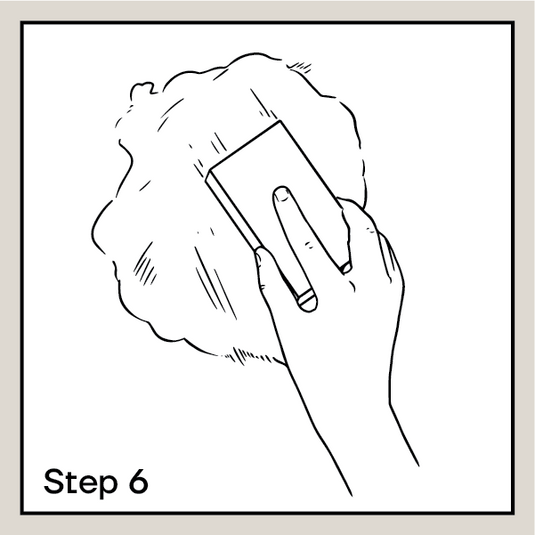
Step 6
Allow spackle to dry for at least 30 minutes. Use a hair dryer on low heat to speed up dry time. Then sand with enclosed sanding block until smooth.
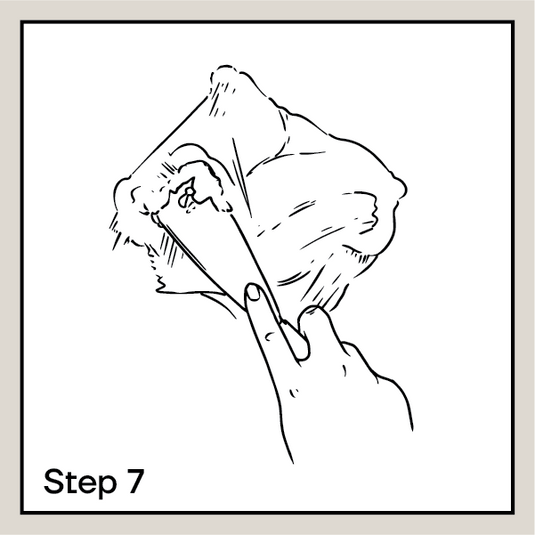

Step 7
We recommend applying a second coat of spackle to further perfect the repair in order to create the most seamless finish possible. Apply second coat of spackle over first, this time, filling in any holes or gaps that were missed in the first coat and continuing to feather it out toward existing wall. After drying for 30 minutes, sand smooth.
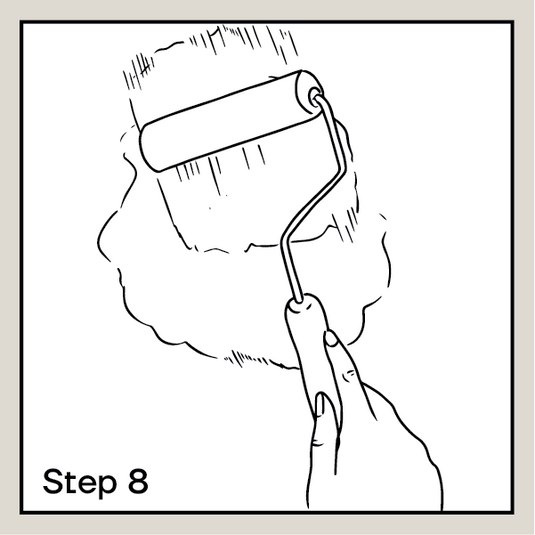
Step 8
Paint over patched area with paint that matches your wall, while feathering it into existing painted surface, or paint your entire wall with a completely new color. Check out the 24 diverse tones of our Multi-Surface Touch Ups for smaller repairs or our All in One Premium House Paint that works on any surface, inside and outside.
Step 9
Clean up immediately with soap and water. Wipe tools dry and store in original packaging in cool/dry place.
Common Questions
Why is your spackle unique?
Our spackle took years to perfect. It was developed to be the only spackle you’ll need. It’s lightweight, easy to spread, does not shrink and is color matched to five shades.
How do I pick a color?
Please order a Color Chart at getsoto.com/colorchart. We have a palette of five shades ranging from bright white to beige.
What is the shelf life?
Unopened spackle has a shelf life of 1 year from the date you received it. Opened spackle should be used within 6 months but could last longer depending on storage conditions.
Help, my spackle arrived frozen!
Don’t worry! Just thaw it out and it should perform as expected. If, after thawing it still appears hard or too dry, please reach out to us at hi@getsoto.com.
The spackle feels dry, why?
The spackle is meant not to shrink. As a result, there is very little water in it, so it may feel slightly dry. This is normal. If it is so dry that it affects your ability to spread it out, add a few drops of water and mix. Adjust the mixture, adding a few drops at a time, until it spreads properly.
The spackle looks grainy, why?
Our spackle is a lightweight spackle. It is designed to not shrink. As a result, it may appear slightly grainy. This is normal and a function of the formulation. This is typically not very noticeable in most colors, especially after it dries, but if it bothers you, be sure to sand it once dry and apply a color-matched paint like our Multi-Surface Paint Touch Up.
Does it work outdoors, too?
Yes, you may use it outside, but it needs to be covered with an outdoor-rated paint.

